Posts in Studio
Knitting Pattern: Reflective Triangle Shawl
 

I was sent a link to this reflective yarn by a friend and it was one of those yarns that exited and inspired me as soon as I saw it. It was perfect for something you can wear at night as it sparkles when light hits it. It also needed to be an item that isn’t worn too close to the skin, as the yarns is a bit scratchy with the reflective fibre in it. I decided to make a large shawl to wear over a coat that can be pulled up over the head if it gets cold or starts to rain.

To create the design I alternated stripes and colours to make a geometric shape combining two different yarns.

To create the shape it is basic increasing and decreasing while changing colour thread to make a giant triangular shawl.

Whatever it is, the way you tell your story online can make all the difference.

As it was a great project I wanted to share the method, which can be used with any type and colour of yarn. The knitting pattern can be viewed and downloaded from below with links to the fibres I used.

(I also did a mini photoshoot so yes that is my face in the pattern photos)

I love to talk all things knitting so if you have any feedback on this pattern, patterns to share or tips and interesting methods please get in touch - info@amberjames.co.uk

 
The Perfect Month

February 2021

Did anyone notice that this month is a ‘perfect month’ !?

It begins on a Monday and ends on a Sunday in 4 beautifully balanced weeks. When you turn your calendar to February this month you will see a symmetrical rectangular block of 28 days.

If you have ever had to design a calendar, or draw out a month plan, you can understand the simple joy of having it all laid out neatly.

All the nerds and OCD minds out there just gave a collective sigh.

Heres my ‘perfect month’ to share with you, may all your goals be accomplished and all to-do’s written off the list.

amber_james_design_the_perfect_month.jpg
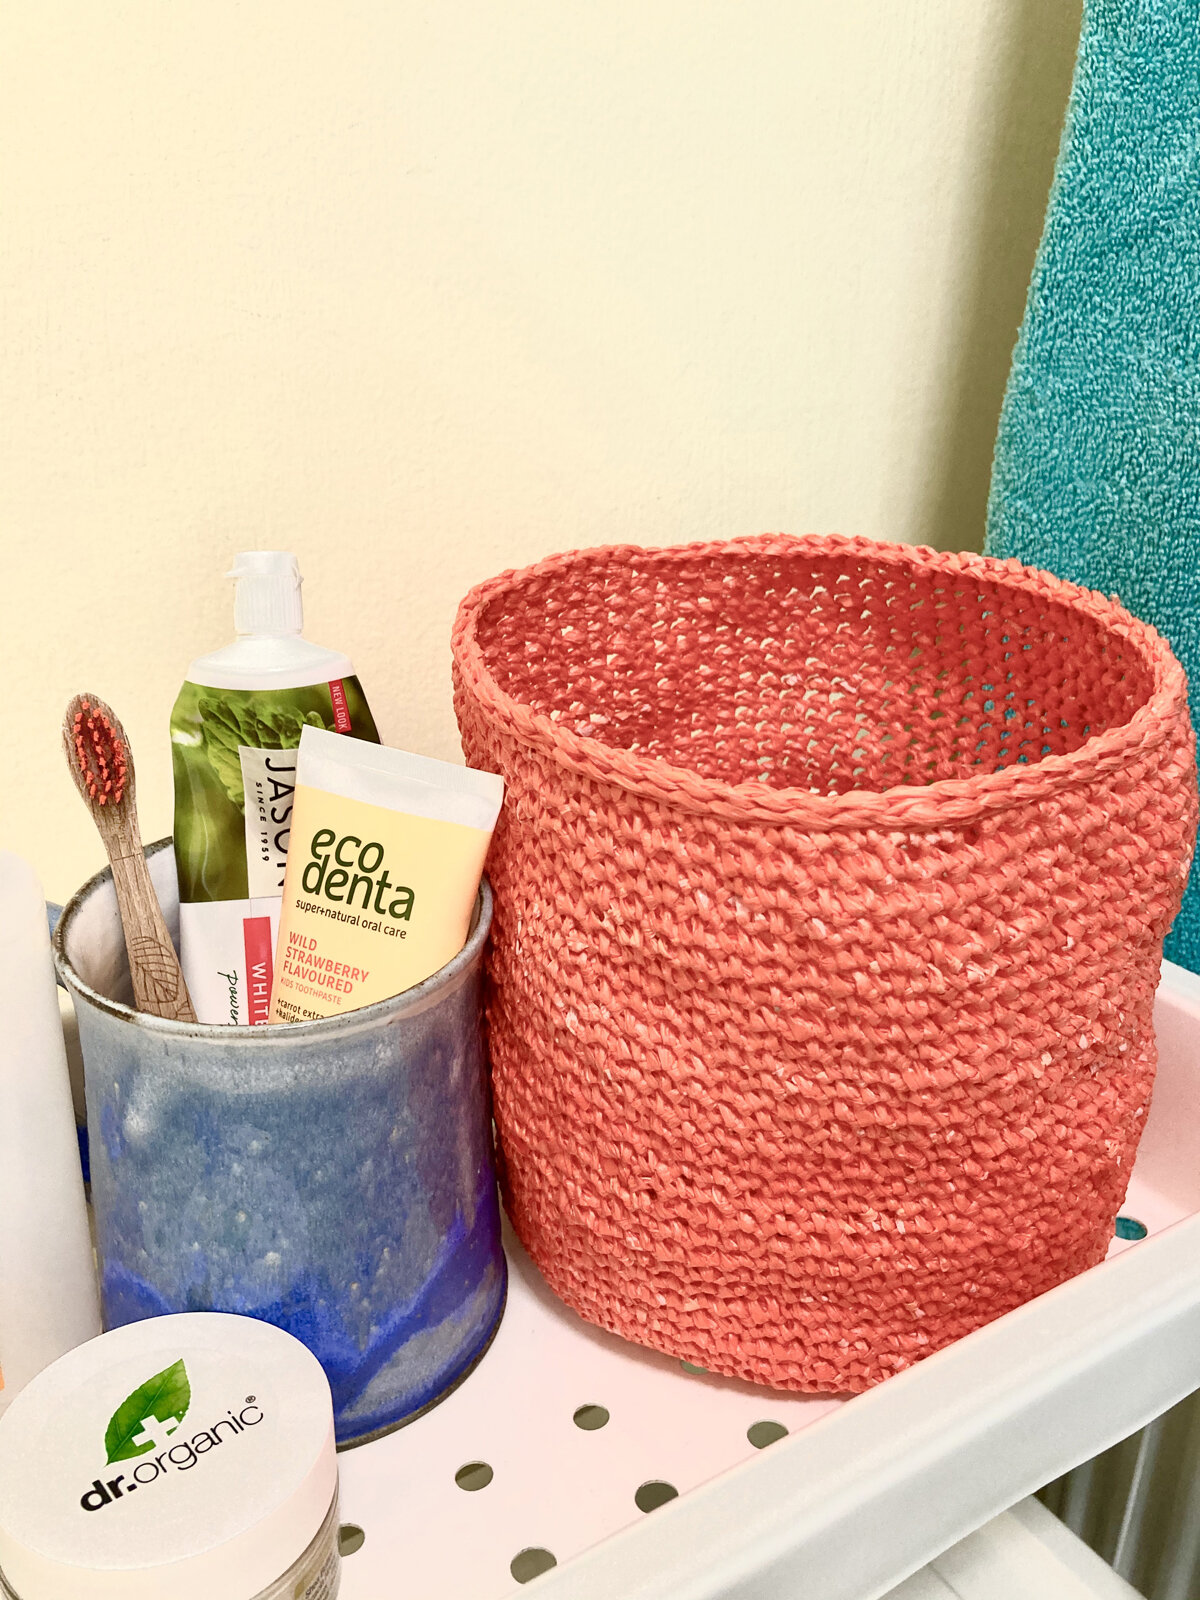
Zero Waste Project No. 1 - How to Make A Recycling Bin From Old Plastic Bags
 
amber_james_design_recycled_plastic_bags_zero_waste_project_sainsburys_web.jpg

So I have decided to start my own zero waste mission, or as close to zero as I can get. It’s all about throwing as little away as possible, especially plastic. I have always been thrifty and resourceful with what I consume but so many things we buy come wrapped in plastic and unnecessary packaging. I am going to make extra effort to cut out plastic at the source, at the point of purchase.

I want to think of ways to use things I no longer need, turn them into materials or components that can be made into something else. It’s like adding a ‘filter’ on your rubbish bin or recycling bin that means you look at waste differently and take that into consideration when you are buying anything new.

My zero waste journey needs to start with what I already have, looking at where the changes need to be made in my everyday life. As I go through my day I can identify where I am using the most plastic and try to find an alternative that is either made from sustainable, natural materials or from recycled plastic.

The first everyday plastic I want to look at is plastic shopping bags. I use tote bags but still have a bunch of old plastic bags that I couldn’t bring myself to throw away. I found this technique a while ago that makes a continuous strand from anything tubular like a t-shirt, sock or a plastic bag.

I have made a PDF that you can view below or download here:


I made another recycling bin from old Tesco bags which had a nice blue red and white colour scheme, always a winner. They were the thicker bags for life and were much easier to crochet with as it is a chunkier strand. This gives it a stronger structure as well and it feels more like a waste paper basket when finished. You can achieve different thicknesses when cutting out the strands by adjusting the width of the strand. This does however mean that you need more bags to cut up if you make the strips wider.

I feel immensely satisfied that I got rid of the bags that were cluttering up my cupboard and turned them into something useful (smug face and self five :D). If all goes to plan my new recycling bins will be empty most of the time.

amber_james_design_recycled_plastic_bags_zero_waste_project_tesco2web.jpg
amber_james_design_recycled_plastic_bags_zero_waste_project_tesco1web.jpg
 
10 Steps Towards Minimal Living
 

It is well known by anyone living in a city that space is at a premium. 
Here are some ideas to make the most of small studios and humble homes.

# 1 A Place For Everything and Everything In Its Place

First step is to ruthlessly sort through EVERYTHING and decide what is most important.

You will need 3 categories: 

1. 'I use this every day' 

2. 'I use this occasionally' 

3. 'I never use this but need it in my life' 

Everything else goes into the bin.


#2 Form Follows Function 

Decide what is the main activity for each room and start by organising the tools you will need at hand. 
Once you have it all laid out you can see what type of storage unit is going to hold it all neatly in the space you have to work with.

#3 Boxes On Boxes

Now you need a place to put your things.

Boxes, tins, cases, shelves, cupboards, jam jars, cabinets, attic space, anything and everything that can serve as a container.

Then you need to get yourself a label maker and go nuts!

TOP TIP - label your plugs to avoid multi plug confusion
 

#4 Think Tetris 

You need to be smart with the way you lay out your storage within the space, and how you fit things into that storage. 
If it's all jumbled up you will waste the space in between things, so approach it like everything is a tetris piece and all you have to do is find its matching space.

#5 Look Up

Floor to ceiling bookshelves is a luxury not everyone can achieve but some simple shelves above head height provide a great space for all the things you would place into the third category mentioned earlier. 
Being up above your day to day space gives you more floor space to play with.
 

#6 Make A House A Home

Minimal doesn't have to mean clinical. It's still your space so make it personal and decorate with artwork and photographs. 
A few frames and posters won't impact on the space and can drastically improve the mood of a room. 
Lighting is also key in creating the right atmosphere.

# 7 Tricks and Illusions

Mirrors are a great way to give the impression of more space if you have a nice big wall to put one on. 
Keeping all the surfaces and floor clear of clutter also gives a feeling of more breathing space. 
If you a have a dual purpose room, a fake wall or room divider can imitate two separate rooms.
 

# 8 Move Forward With A Clear Mind

Once everything is sorted and contained you will know exactly what you have and can avoid being tempted to buy things you don't need. 
Anything you bring into the space in future has to be an upgrade of something you already own, or something that improves the functionality of the room. 
Avoid nik naks, trinkets or figurines.

# 9 The Grass Is Always Greener

Living in tight spaces can get a bit claustrophobic so you need to find an outside space to get away from it all. 
Somewhere like a park or a local cafe is a perfect place to relax with a book and most community spaces are free.
 

# 10 never stop tidying

To live a minimalist life requires a passion for order and organisation. You have to stay on top of clutter and make time every day to tidy and clean. 
It's also worth sorting through everything every 6 months or so, because as time passes you change. What worked for you then may not work now.

Images © The Pattern Guild 2015

 
In-House Product Photography
 

While photographing our new collection I thought up some handy tips for other in-house photographers. In this article I will be exploring techniques for product photography that are useful for small items and close up details.

1. Lighting

A crucial factor in product photography is consistent lighting. Ideally you want to get a good pair of studio lights that can be positioned either side of the subject and give a soft even light.

If you are on a budget then two spotlight lamps with bright daylight bulbs will get a similar effect. You may need to compensate for the low quality light by using the settings or a filter on your camera to adjust the warmth and exposure.

Always take a few test shots and review them on your computer to see how it looks before starting. It almost always looks different to the display screen on your camera and then you can further adjust the camera settings to get the right balance.

2. Background

The safest option is white but it entirely depends on the subject. If the colours in your collection are mainly white or a light colour they will get lost in the background and be a nightmare to work with in photoshop later. For things like screen prints on white paper or tea towels a light grey or complementary colour background is better.

Paper or fabric can be used to create you background by hanging it on a wall or on a table against a wall. If you have photoshop skills you can get away with layering a few A2 sheets over each other and editing out the joins later but for an easy life get a nice big piece of quality paper or fabric.

If you can stretch the budget and are planning to take more photos in the future then invest in a roll of paper or fabric that can be cut down when it gets marked or scuffed from use.

3. Tripod

Any photography is instantly improved by a good sturdy tripod. Even pressing the shutter button creates movement and will blur any fine detail you are trying to capture.

Once you have tested your images and got your perfect settings you want to keep your camera in the same spot that the settings are adjusted to. If you accidentally knock the tripod and change its position, it will take in light andcolour differently to where it was and the pictures will come out differently.

Once you have it in place get some cheap masking tape and mask out a square around the base of each leg of the tripod. This will tell you where its supposed to be but keep it in place by adding a blob of bluetack to the legs to stop them from sliding around.

4. Camera

A good DSLR is a must even if you have to beg, borrow or trade for one. The more pixels the better and RAW setting is necessary if you want to print any of your images larger than A4.

DSLR cameras give you more control over the settings but usually have excellent auto settings as well if your not familiar with how exposure and shutter speeds work.

If you are photographing very small items or lots of close ups it may be worth getting a quality macro lens. Most cameras have a macro setting that will be effective up to 10cm away but you will need a tripod.

5. Photoshop

This is your final tool. You want your images to be as near to perfect when you take them but inevitably there will be variations.

The clone stamp tool can be used to get rid of smudges, dust blobs or creases in the background. The level adjust can be used to change the exposure and brightness of the images so that they are all the same.

 
Bussey Building / CLF Art Cafe Under Threat From Proposed Redevelopment
 

On Tuesday night we attended a meeting at the CLF Art Cafe to find out more about the proposed developments for 133 Rye Lane, which sits in front of the Bussey Building on the high street.

The developers want to build 11 luxury apartments and raise the height of the building, with the entrance to these flats being accessed via the covered walkway we all use to get to Bussey and Copeland Park.

The main concerns from members of the community were about the knock on effects of having a residential area right next to one of the loudest and busiest venues in Peckham. The courtyard outside Bussey is directly below the proposed flats and would be a source of noise for the residents on nights when there are a lot of people queuing or just congregating in that area.

If either the walkway was to be blocked off for the flats or the noise be a cause for the venue to be restricted, it would damage the CLF Art cafe and all the resident Copeland Park businesses that are just beginning to flourish. Ourselves included.

Image Source: http://igor.gold.ac.uk/~msegg002/wordpress/wp-content/uploads/2016/11/Bussey-Buiding-After.jpg


What was most apparent was a sense of sadness that Peckham's thriving subculture seems destined to be cut off in its prime. This proposal is one of many currently being quietly pushed through by Southwark council, who were not in attendance, that include: 
Peckham Rye Station (Peckham Print StudioThe Sunday PainterBar StoryPeckham SpringsHannah Barry Gallery), the multi-storey car park (Frank's rooftop barPeckhamplex CinemaBold TendenciesAli Baba Juice), and there was mention of residential developments planned for a building next to Canavan's Pool Club which will surely put an end to the Rhythm Section events and its nightclub status.


Now if you imagine 5-10 years into the future that those businesses are gone, all the buildings have been redeveloped and look all shiny and new and replacing them are something similar to every other high street in London. The shop rents have gone up with the house prices and all the other businesses on rye lane have been pushed out because they can't keep up. All the students and creatives have moved elsewhere because their landlord has followed every other landlord by capitalising on the desirability of the area and raised the rent beyond their means. There are no more 'interesting locals' or 'creative entrepreneurs'. It's a soulless ghost town.


That could happen because the wave of property developers that have descended on Peckham like a flock of vultures seem to be completely unaware of its fragility. It's not going to be another Shoreditch because it hasn't had a chance to build on its popularity. I've been in this area for the last 10 years, as a student and as a professional, and since the overground connection was finished a few years ago its got more and more attention. But it's not completely established itself yet in terms of a 'scene', it's growing fast but has not yet enjoyed the glory days that give longevity.


If I was a smart property developer and I wanted to invest specifically in Rye Lane I wouldn't be putting my money into flats or houses. I would look at what the area is known for - creativity and culture, what the area is lacking - bars and nightclubs, and what the people on the high street are most interested - shopping, eating, drinking, beautifying. That may be massively simplifying the richness of the area but you get the idea.

Why not build a new shopping arcade following the popularity of Holdrons Arcade with retail units showcasing local designers and makers and a gallery space.

Or build a venue in collaboration with Rye Wax and YAM Records that could host DJ nights as well as sell records.

If you want to appeal to the wealthy then stick a VIP bar on the top and the rich can sneer down at the commoners all day long for a pricey membership fee.


Since the meeting I have been working over all the things that were said and the raw emotions I saw in the faces and voices of everyone that spoke. We're all afraid of losing what we've been working towards for years, what we put our heart and souls into to create. There was however resistance, a representation of the fact that we won't let it just happen. And that is what will save us if anything can.


If you haven't signed the petition yet here's a link:

https://www.change.org/p/shanali-counsell-southwark-planning-object-to-plans-for-housing-development-at-133-rye-lane-gateway-to-the-bussey-building?recruiter=187238481&utm_source=share_petition&utm_medium=copylink

And here are some links to the proposed development projects:

Peckham Rye Station
http://www.southwark.gov.uk/info/823/regeneration_projects/3375/peckham_rye_station

Multi-Storey Car Park
http://www.peckhamvision.org/wiki/Multi-Storey_Car_Park#Future_of_the_building